Friday, April 1, 2011

Create Organization


I don't know about you but I always get ornery when I feel like things are out of control... especially with "stuff."  My husband knows that one of the best things he can do for me is to pick up the toys at the end of the night.  (Read The 5 Love Languages by Gary Chapman.  My top love language is "Acts of Service.")

A couple of years ago, we had a back porch added onto our house and with it came a huge coat closet... hooray!  However, I knew that if we didn't stay on top of "managing" it - it would become a monster.

I am a firm believer that every item in a house should have a home.  When cleaning up, it is easier - every item gets put back in it's spot.  In order to create "homes" in our closet, I decided to buy these durable baskets from Target.  They were big enough to house plenty of items but not too big to take down from the shelf.

I labeled them with black vinyl which I cut with my Cricut machine using the "Don Juan" cartridge that came with it.  I picked the top four reasons why items would collect in our back porch and created labels accordingly:

Returns (to the store)
Give Back (when friends and family are getting ready to go, I dig through to see if anything is theirs)
Savers (similar to Goodwill) and
Garage (items that came in but need to go back out)


Tis the season for spring cleaning!  Good luck!

Tuesday, March 29, 2011

Our Nesting Ground: Moss Letters

Image from Pottery Barn

When I was growing up, I spent a lot of time in my fort in the back yard which was really just a gigantic boulder hidden at the edge of our equally large backyard.  (I think it was therapeutic for my dad to circle on his John Deere so he just kept adding to the lawn.) As the hours of warm summer days slowly peeled off the clock, I sat surrounded by the the sights of the north woods peeling moss off of my giant fort.  


In recent years, moss has become a very popular decorating material which always pleasantly surprises me as it brings back memories of warm shade, dirt under my nails and the texture of the many different mosses God created for us to enjoy.  

Thanks to Rebekah, who sent me this link from "Our Nesting Ground", now we can see how the project above is done.  The image shown is from Pottery Barn and Sarah from "Our Nesting Ground" shows another photo from "dear lilly" and her own step by step pictures and instructions.  Enjoy!


Google Earth's view of my "fort" (the blue arrow).
I wasn't kidding when I said my dad likes his John Deere.  
   

Sunday, March 27, 2011

My Guitar Hero


After watching numerous sessions of air guitar during our impromptu family living room dance parties, I decided it was time for my little guitar hero to have something more.  This shirt was my solution.   Goodbye air... hello guitar.

Materials:
Black, White, and Beige Eco-Fi Felt (it is washable)
Scissors
Sewing Machine
Black and White Thread
Needle
T-Shirt
Washable Fabric Glue

Just by looking at this shirt, many of you can recreate it.
However, here are the steps I took if you would like a few tips.


Instructions:
I bought a t-shirt to fit my son and washed and dried it.  Then I searched Google Images to find a simple picture of a guitar.  I drew the shapes free-hand onto the felt with a marker and cut them out.  However, if you aren't comfortable with doing this, print your picture and blow it up on a copier multiple times.  Cut out the different shapes and use them as stencils.

As I placed each layer down, I used washable fabric glue on the back.  When it was dry, I machine stitched inside the outer edge on the big pieces.  Then I went on to the next layer.  When layering the small pieces, I hand stitched them for more control.  For the final touch, I machine stitched the strings using black thread.

Warning:  If this shirt is made for dad... watch out for spontaneous unplugged versions of "We're Not Gonna Make It" and "Pour Some Sugar On Me."


Thursday, March 24, 2011

Summer Scarf Tutorial


This is the second tutorial that I have shared from Made... but they are just so good! Scarves are such an easy way to dress up your look. If you happen to have a piece of fabric in your stash that you LOVE but don't know what to do with it - here you go! (All you need is 1/2 yard!)


Tuesday, March 22, 2011

Business Casual

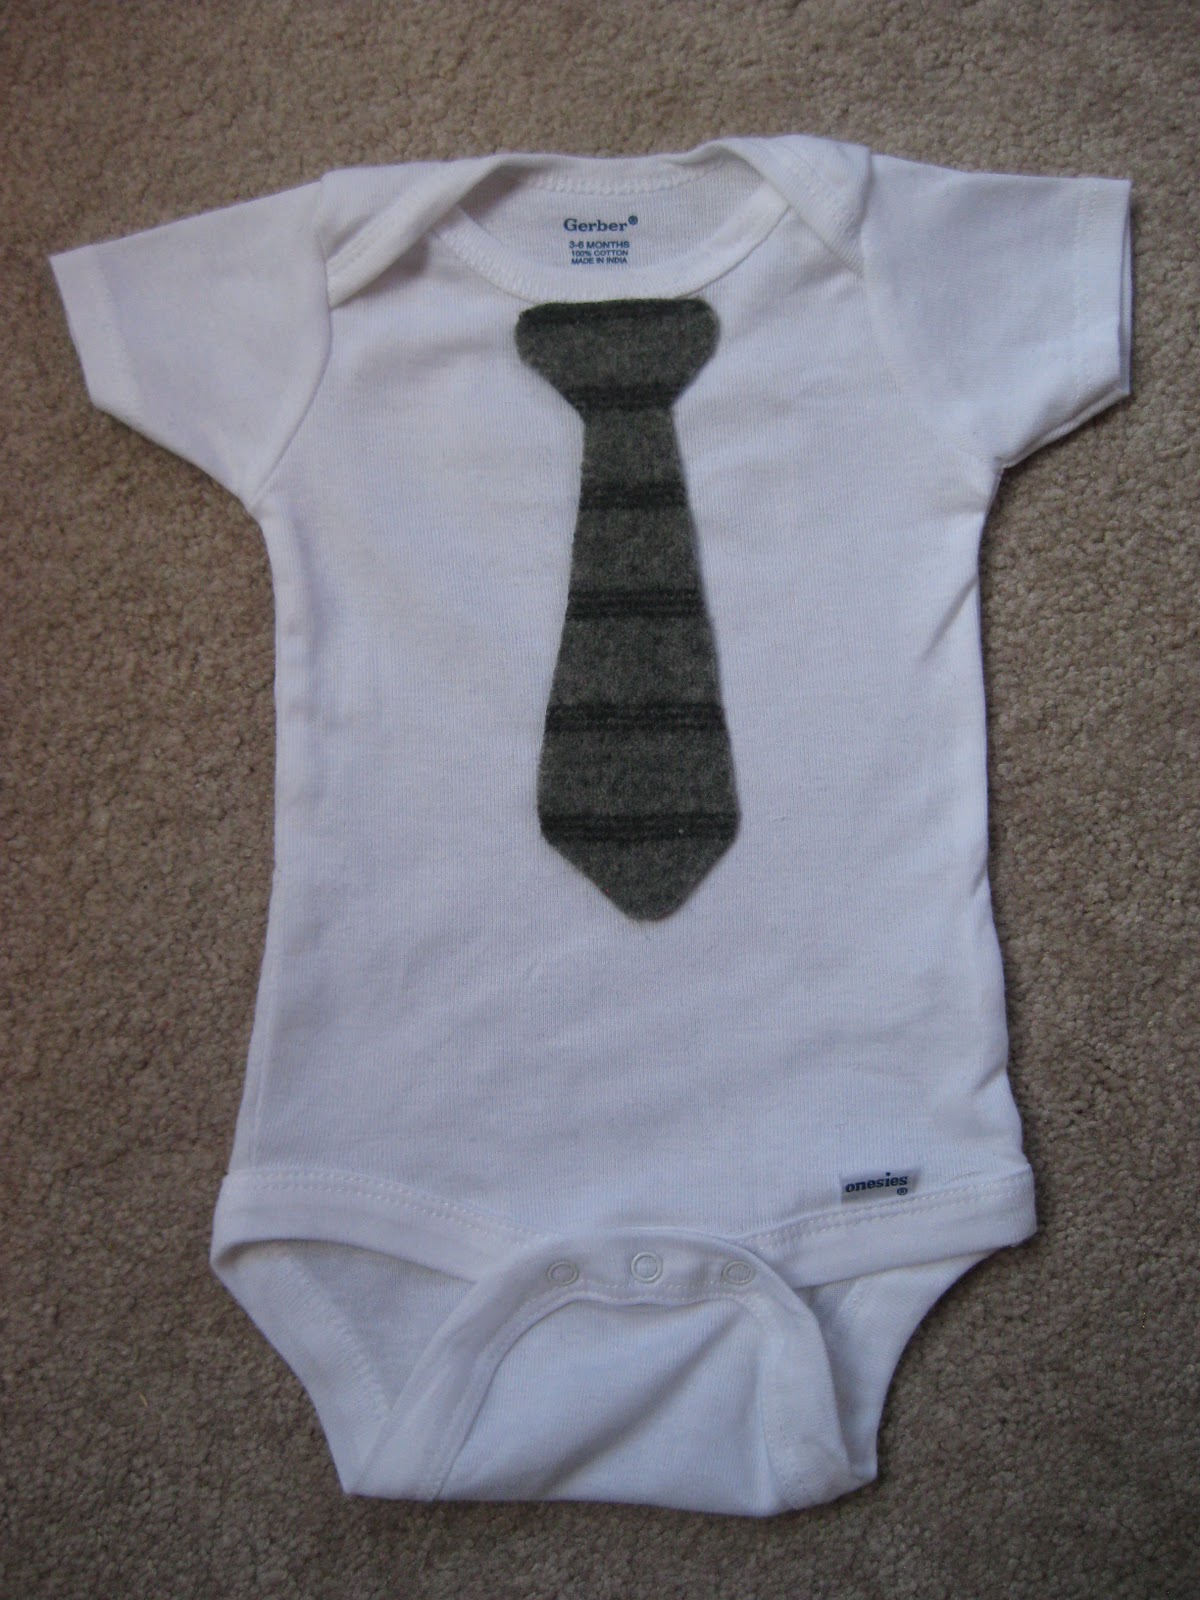
Have you seen this idea?  Daddy's mini-me can now easily accomplish the dapper look with this simple project.  Most importantly, he can dress-up in comfort for any special event!  Goodbye clip-on ties and untucked dress shirts.  Hello Mr. Cool!

Materials:
Onesie (Long or Short Sleeve)
Scrap Material for Tie
Scissor
Washable Fabric Glue
Thread
Sewing Machine or Needle

Instructions:
Pre-wash your onesie and dry it making sure to get the wrinkles out.

Next, cut out the shape of a tie from your material.  The tie pictured is cut from a felted sweater.  However, any material that does not fray excessively will do.   I usually make the tie fall just below half way so it is not covered up by the waist of pants.

Apply fabric glue on the back of the tie and center it on the onesie just below the ribbing around the neck.  To secure, hand stitch or machine stitch around the inside of the fabric edge.

Congratulations!
You did it!  Mary's Makings now has 20 followers!  The prize for the 20th follower goes to Sharon.  She will receive the "Thankful" Scrabble Rack.  And now for the individual who referred her...  (drumroll)... Auntie Bobbie!  She will be the lucky recipient of the "April Showers Bring May Flowers:  Boutique Barrette".  Thanks to each of you for following Mary's Makings!


Monday, March 21, 2011

Subtle Stripes for Your Wall

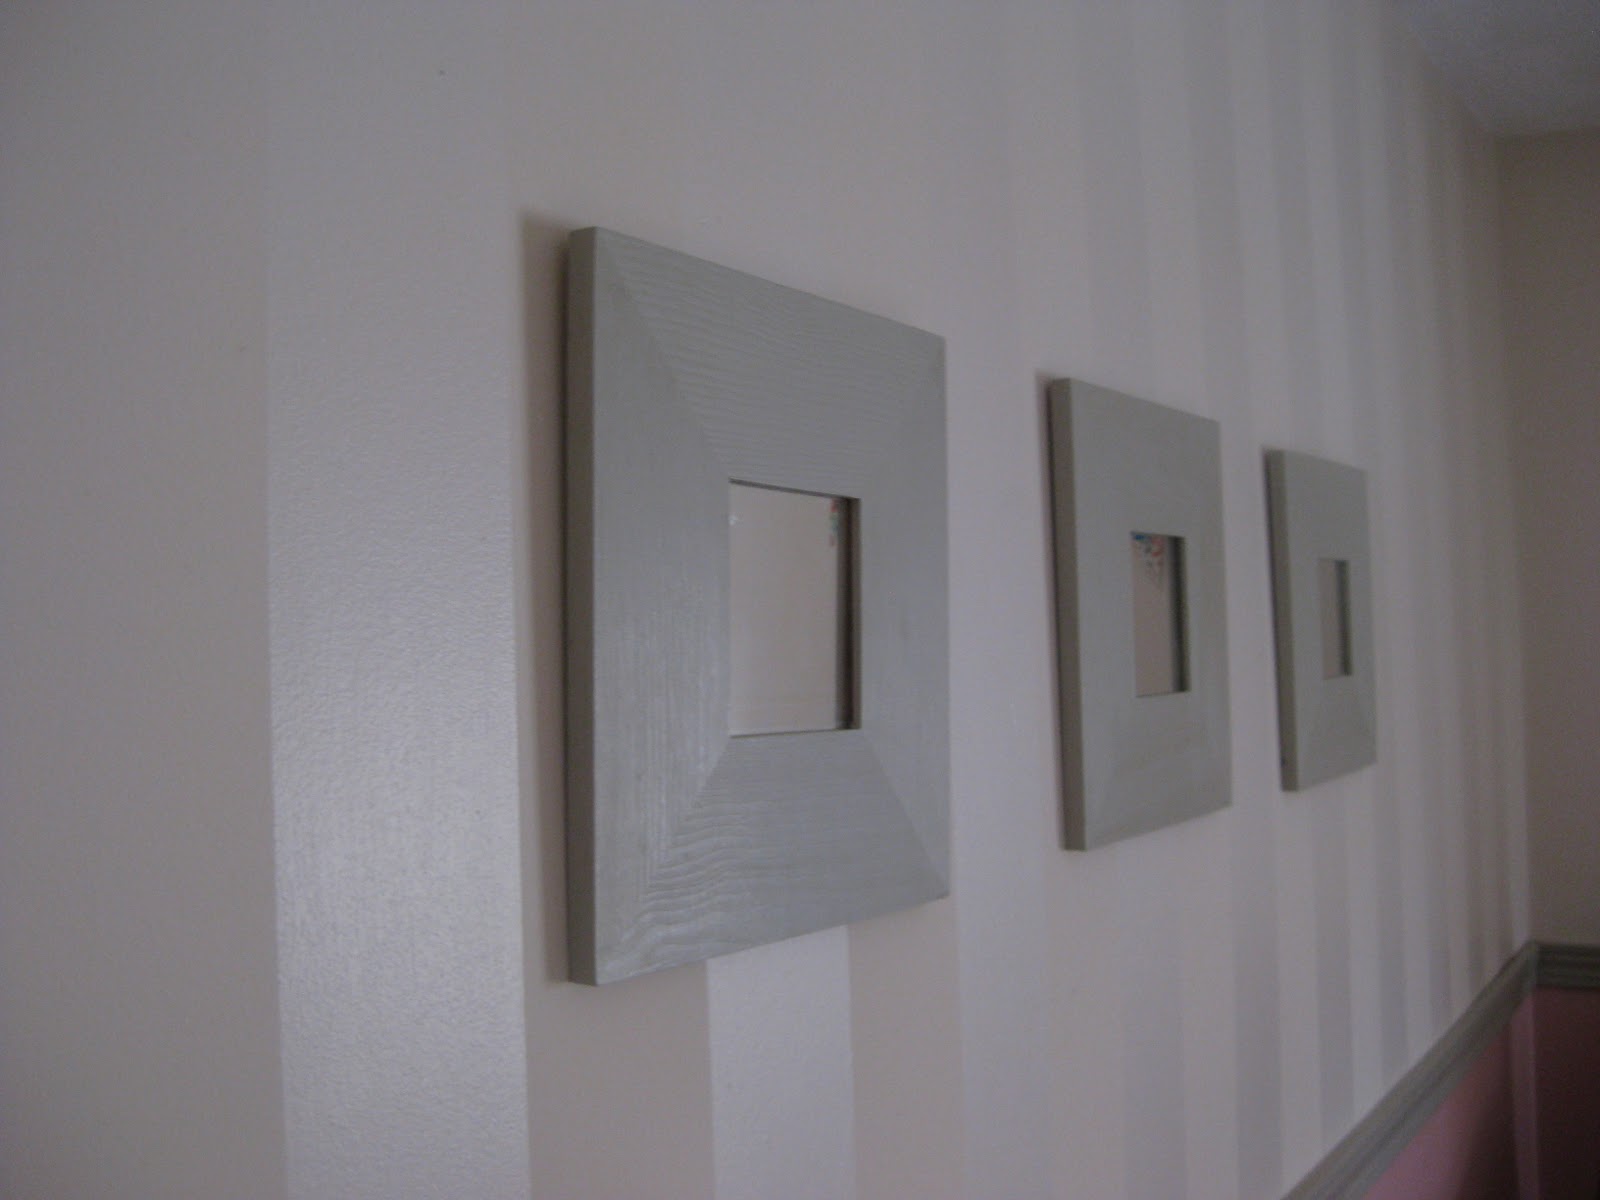
If you would like to add something extra to your walls, painting stripes can give an alluring charm to your room. However, sometimes stripes of two contrasting colors can make your room look like circus tent.  Instead, painting stripes of the same color in flat and high gloss paint will create an elegant feeling. My mother-in-law told me about this idea.  I tried it, loved it, and had to refrain from doing every single wall in my house.

Materials
Paint Color of Choice - Flat
Paint Color of Choice - Gloss (or semi-gloss for a more subtle look)
Paint Roller
Paint Tray
Painter's Tape
Paint Brush
Yard Stick
Pencil

Prep your walls by repairing them as needed and wiping them down with a damp rag.  Wait a few hours until they are dry.  Paint two flat coats or more until you are satisfied with the coverage.  Let your paint dry completely in between coats.

Pick the width that you would like for the stripes and lightly mark your walls.  I have done stripes in one room that are 2" and another that is 4 " wide.  Do whatever pleases you.  Connect the markings on your wall with painters tape and run your finger along all of the edges to ensure that paint does not seep under it.  With a paintbrush (or a small roller) apply your (semi-)gloss paint.  When the paint is dry to the touch, CAREFULLY peel the tape off at an angle so the gloss paint doesn't come up.  That is it!

My little camera can't do justice for the beautiful results of this painting technique.  Trust me... the work is worth it!


Saturday, March 19, 2011

Make Your Own Notebook

This summary is not available. Please click here to view the post.