Sunday, March 27, 2011

My Guitar Hero


After watching numerous sessions of air guitar during our impromptu family living room dance parties, I decided it was time for my little guitar hero to have something more.  This shirt was my solution.   Goodbye air... hello guitar.

Materials:
Black, White, and Beige Eco-Fi Felt (it is washable)
Scissors
Sewing Machine
Black and White Thread
Needle
T-Shirt
Washable Fabric Glue

Just by looking at this shirt, many of you can recreate it.
However, here are the steps I took if you would like a few tips.


Instructions:
I bought a t-shirt to fit my son and washed and dried it.  Then I searched Google Images to find a simple picture of a guitar.  I drew the shapes free-hand onto the felt with a marker and cut them out.  However, if you aren't comfortable with doing this, print your picture and blow it up on a copier multiple times.  Cut out the different shapes and use them as stencils.

As I placed each layer down, I used washable fabric glue on the back.  When it was dry, I machine stitched inside the outer edge on the big pieces.  Then I went on to the next layer.  When layering the small pieces, I hand stitched them for more control.  For the final touch, I machine stitched the strings using black thread.

Warning:  If this shirt is made for dad... watch out for spontaneous unplugged versions of "We're Not Gonna Make It" and "Pour Some Sugar On Me."


Thursday, March 24, 2011

Summer Scarf Tutorial


This is the second tutorial that I have shared from Made... but they are just so good! Scarves are such an easy way to dress up your look. If you happen to have a piece of fabric in your stash that you LOVE but don't know what to do with it - here you go! (All you need is 1/2 yard!)


Tuesday, March 22, 2011

Business Casual

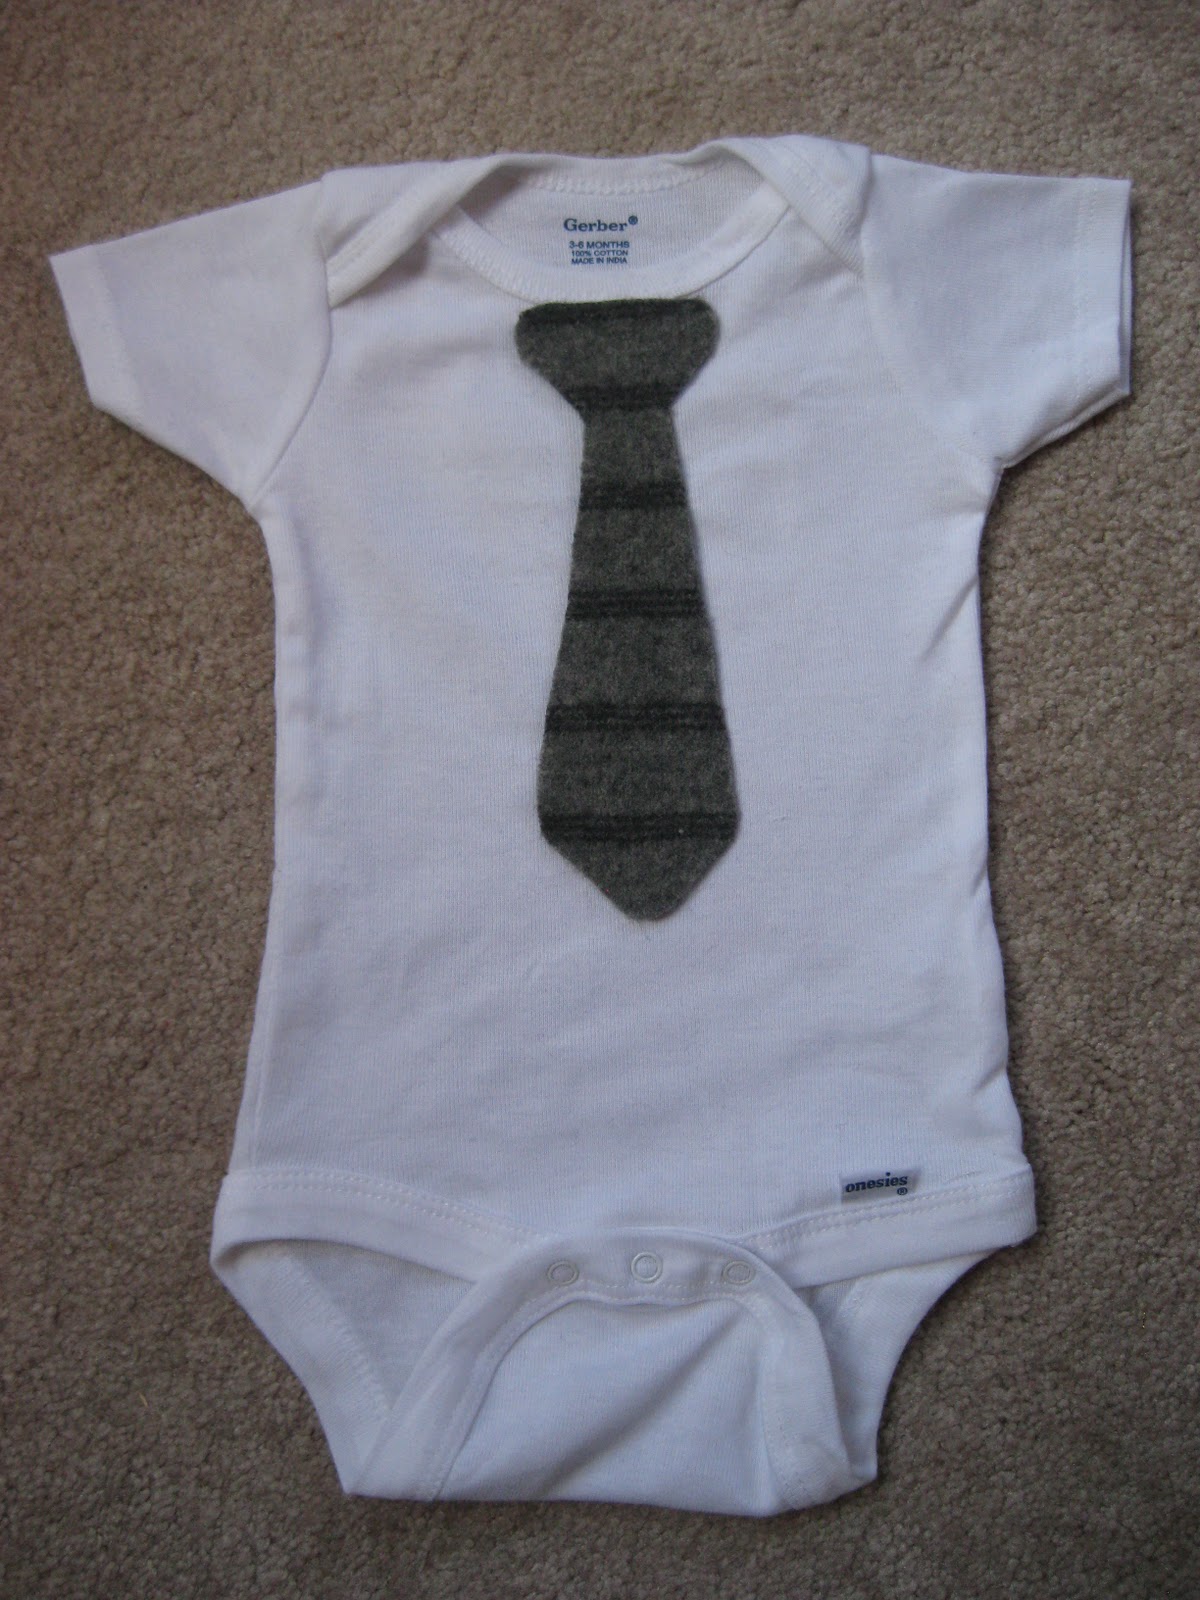
Have you seen this idea?  Daddy's mini-me can now easily accomplish the dapper look with this simple project.  Most importantly, he can dress-up in comfort for any special event!  Goodbye clip-on ties and untucked dress shirts.  Hello Mr. Cool!

Materials:
Onesie (Long or Short Sleeve)
Scrap Material for Tie
Scissor
Washable Fabric Glue
Thread
Sewing Machine or Needle

Instructions:
Pre-wash your onesie and dry it making sure to get the wrinkles out.

Next, cut out the shape of a tie from your material.  The tie pictured is cut from a felted sweater.  However, any material that does not fray excessively will do.   I usually make the tie fall just below half way so it is not covered up by the waist of pants.

Apply fabric glue on the back of the tie and center it on the onesie just below the ribbing around the neck.  To secure, hand stitch or machine stitch around the inside of the fabric edge.

Congratulations!
You did it!  Mary's Makings now has 20 followers!  The prize for the 20th follower goes to Sharon.  She will receive the "Thankful" Scrabble Rack.  And now for the individual who referred her...  (drumroll)... Auntie Bobbie!  She will be the lucky recipient of the "April Showers Bring May Flowers:  Boutique Barrette".  Thanks to each of you for following Mary's Makings!


Monday, March 21, 2011

Subtle Stripes for Your Wall

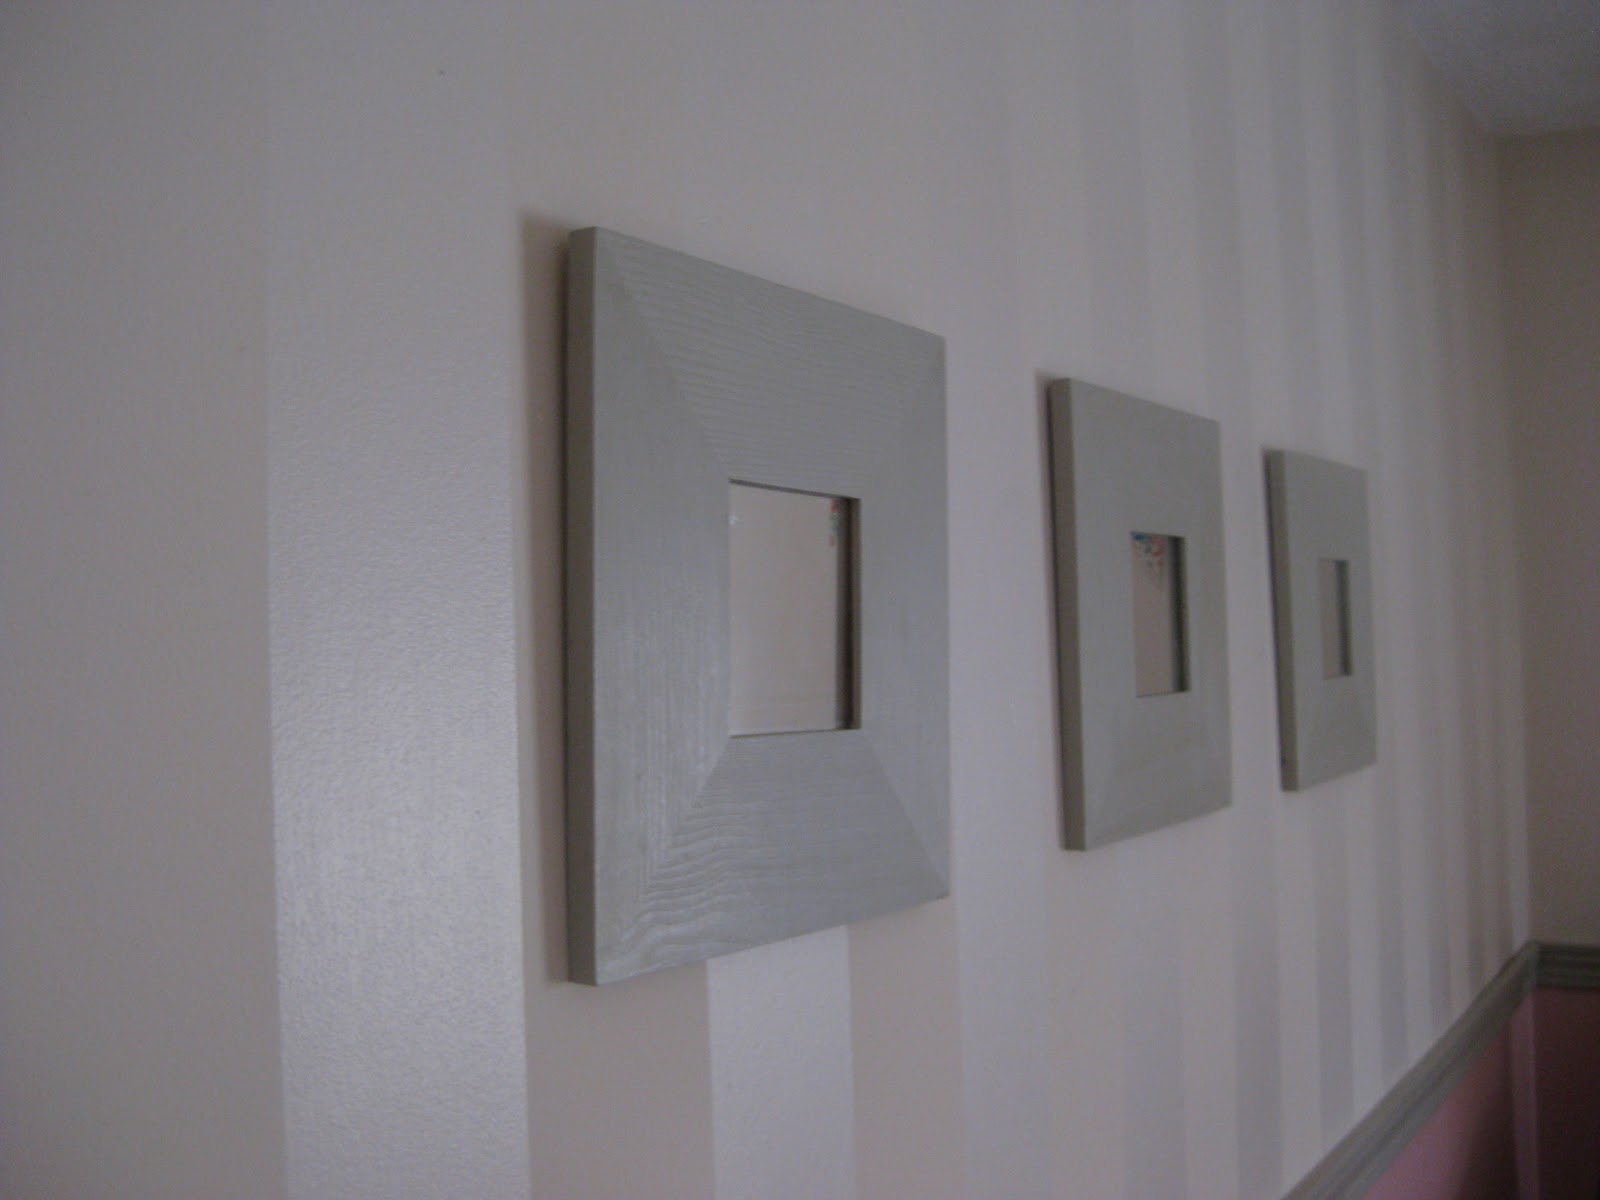
If you would like to add something extra to your walls, painting stripes can give an alluring charm to your room. However, sometimes stripes of two contrasting colors can make your room look like circus tent.  Instead, painting stripes of the same color in flat and high gloss paint will create an elegant feeling. My mother-in-law told me about this idea.  I tried it, loved it, and had to refrain from doing every single wall in my house.

Materials
Paint Color of Choice - Flat
Paint Color of Choice - Gloss (or semi-gloss for a more subtle look)
Paint Roller
Paint Tray
Painter's Tape
Paint Brush
Yard Stick
Pencil

Prep your walls by repairing them as needed and wiping them down with a damp rag.  Wait a few hours until they are dry.  Paint two flat coats or more until you are satisfied with the coverage.  Let your paint dry completely in between coats.

Pick the width that you would like for the stripes and lightly mark your walls.  I have done stripes in one room that are 2" and another that is 4 " wide.  Do whatever pleases you.  Connect the markings on your wall with painters tape and run your finger along all of the edges to ensure that paint does not seep under it.  With a paintbrush (or a small roller) apply your (semi-)gloss paint.  When the paint is dry to the touch, CAREFULLY peel the tape off at an angle so the gloss paint doesn't come up.  That is it!

My little camera can't do justice for the beautiful results of this painting technique.  Trust me... the work is worth it!


Saturday, March 19, 2011

Make Your Own Notebook

This summary is not available. Please click here to view the post.

Thursday, March 17, 2011

Festive Flowers

Picture Taken by Delora
Does anyone else feel bad mowing over the sweet daisies that grow in your yard?  Here is a fun way to use them for a gift or for a science project.  Did you know that you can color your daisies by putting them in water with food coloring?

Materials:
Daisies
Sharp Scissors
Faucet
Water
Vase
Food Coloring

Instructions:
Round up the daisies that pop up in your yard or purchase some at your florist.  This process will work for carnations, too.

Trim the stems of your flower by making a slanted cut under running water.  Why a slanted cut? Making a flat cut may cause your flower stem to sit flat on the bottom of your vase which won't allow your flower to take in water.  Why cut under water?  Without this step small air bubbles may form at the end of the stem also preventing water intake.

Fill your vase 2/3 of the way with warm water.  Add 25 drops of food coloring per half cup. Place your flowers in the vase and check back every hour.  After one day your petals should be fully colored.  

Scientific Explanation:
Here is About.com's scientific explanation for this process called transpiration (plant drinking).  As water evaporates from flowers and leaves, the attractive force between water molecules, called cohesion, pulls more water along.  Water is pulled up through tiny tubes (xylem) that run up a plant's stem.  Although gravity might want to pull the water back down toward the ground, water sticks to itself and these tubes.  This capillary action keeps water in the xylem in much the same way as water stays in a straw when you suck water through it.  Except evaporation and biochemical reactions provide the initial upward pull.

Good thing you are following this blog!  You are now officially smarter.

Wednesday, March 9, 2011

Signs of Spring

Is anyone else hungry for spring?  Soon we will be turning the clocks forward, dying Easter eggs, and seeing little blades of green grass peek through melting snow patches.  Here is a little project to get our minds moving in this direction.

Materials:
Brown Wool Roving
White Wool Roving
Felting Needle
Sponge

Directions:
Break out your needle felting supplies and begin to create a cup shape by needling your brown wool roving.  Start by making a circle and continue to add more roving while tipping the nest to create the sides.

Next, make each of your eggs by rolling the white wool roving.  Begin to needle felt (stab or strike) the fibers in place.  When finished, place your eggs in the nest.

Quick and simple - yet sweet!